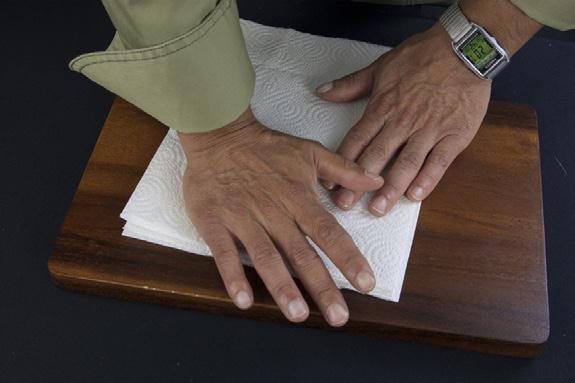
Use thick lace with good detail usually called a lace applique. Apply Seal-Dit generously to both sides of the lace.

Sandwich Seal-Dit covered lace between two double sheets of paper towels. Place covered lace into warm oven set at 200 degrees F. (93 Celsius) for about 5 to 10 minutes. 
Remove lace from oven and move and press lace between paper towels until no imprint is left by the melted Seal-Dit.
Sheet Safe-D- Clay to the thick- ness you want your lace mold to be. Apply very thin coat of Seal-Dit. Lay sealed lace pat-tern onto sheeted Safe-D-Clay and press downward to get full contact between lace and clay surface.
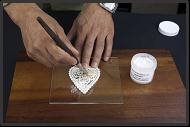 Using a needle tool held straight upward, make passes around the edge of the lace into the clay until the clay has been cut through. Lift and remove excess Safe-D-Clay on outside of lace pattern.
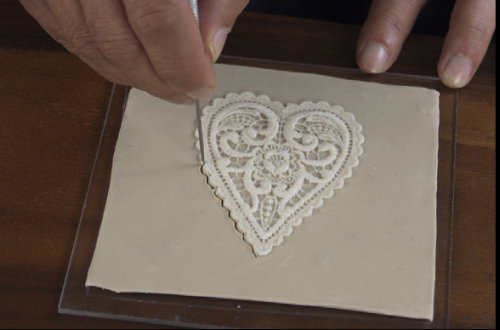
Mix parts A and B of Silicone Plas- tique until a uniform blue color has been achieved.

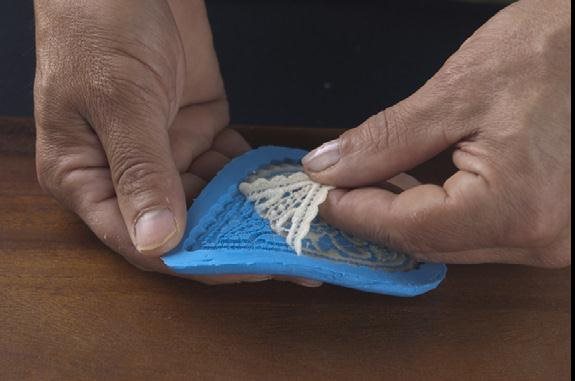
Apply a thin coat of Silicone Plastique to lace making sure that every detail has been captured. Ap- ply more Silicone Plastique to create a mold thickness of about ¼ inch.
 Allow Silicone Plastique to cure at 70 degrees F. (22 degrees Celcius) for about 1 1/2 hours. Peel cured Silicone Plastique off of Safe-D-Clay base. The lace will remain in the mold - this is normal.
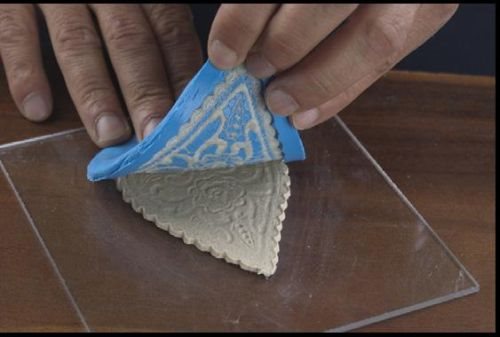
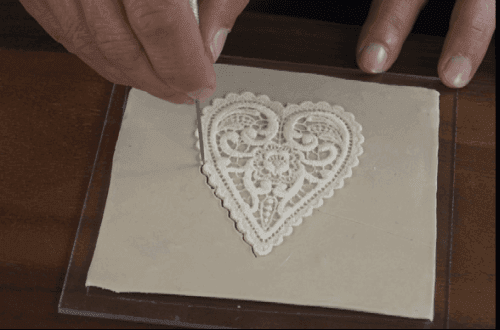
Carefully grab and pull lace out of the cured Silicone Plastique mold. Much of the detail is embedded into the silicone so there will be a little resistance
- this is normal. Once the lace has been removed from the mold, Wash the mold in hot, soapy water and dry thoroughly. This mold is dish- washer safe.